TaperMode
All style references
Low taperRegular upkeep

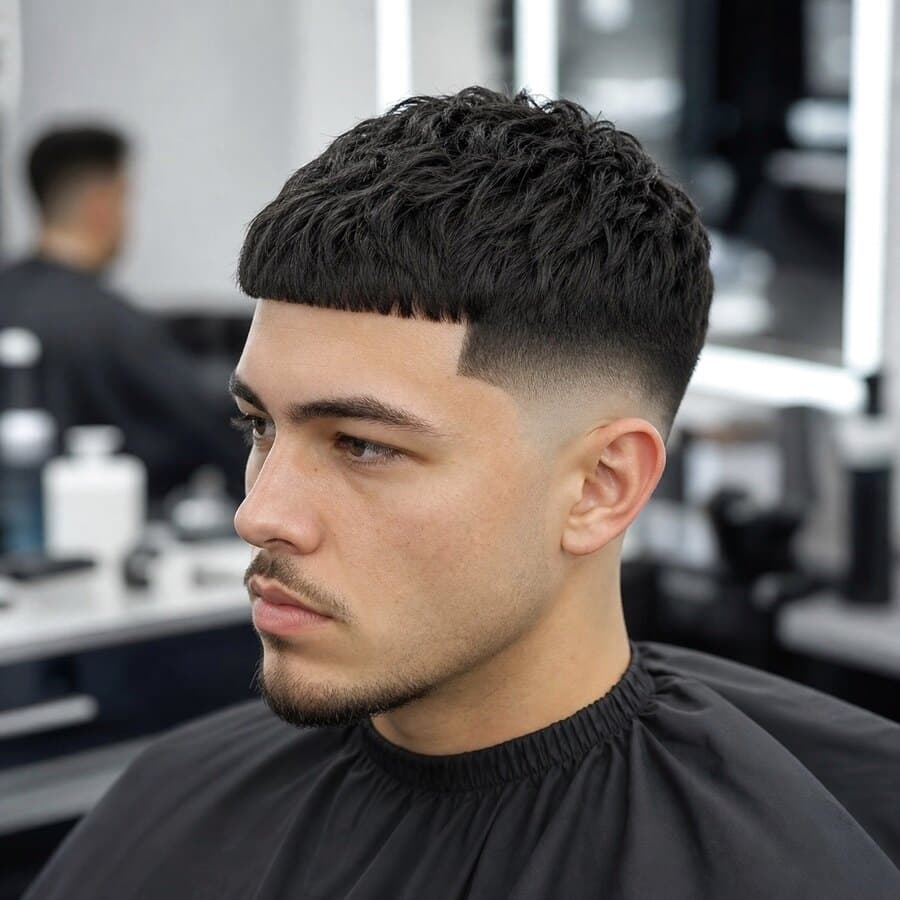
Edgar Haircut

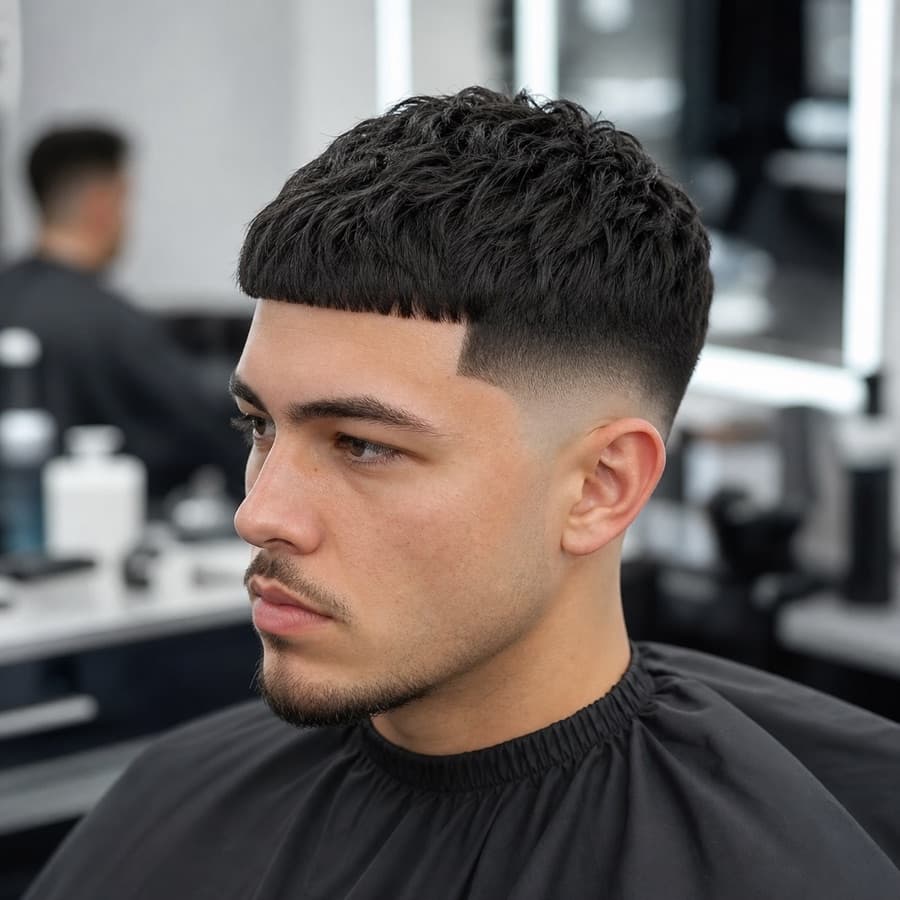
A blunt forward crop with a strong front edge, usually balanced by a taper or fade on the sides.

Texture labels organize the catalogue; they are not a suitability prediction.

Generated haircut reference image for Edgar Haircut.Generated illustration
Illustrative only—not a preview of your result. This image has not been barber reviewed, and one angle cannot show the full transition, neckline, or growth pattern.

Cut notes

How the edgar haircut is built

Edgar Haircut, side viewSide view. Only the sideburn and the neckline corner are shortened, down to a soft, natural edge; the rest of the side keeps its length. A blunt fringe sits straight across the forehead.

Side

Edgar Haircut, back viewBack view. Only the neckline is tapered, down to a soft, natural edge; the back keeps its length.

Back

Original TaperMode diagram, not a photo. The orange line marks where the blend starts; dark to light shows longer hair getting shorter.

Versus its nearest sibling

Textured Fringe

Both bring the top forward; the Edgar is the hard-edged version.

  • An Edgar has a blunt, straight line across the forehead, often finished with clippers or a trimmer so the edge looks deliberate.
  • A textured fringe is point-cut so the front is broken up and messy. If you ask for an Edgar and want a soft front, you will be surprised.

Ask for it exactly

  1. “Edgar: a straight, blunt line across the front, sitting just above my eyebrows.” Say how high the line should sit.
  2. “Sides tapered low with a natural edge, up to about a #2,” or name a mid or high fade if you want more contrast.
  3. “Keep enough length on top for the front to lie forward; don't thin it out.”
  4. Ask how the front line will be finished (clippers, trimmer or scissors) and whether it can be cut slightly longer first.
What the guard numbers mean

Hair-type notes

Straight and thick hair
Gives the cleanest blunt line because the hair lies flat and dense at the front.
Wavy hair
The line can bend as it dries; ask the barber to cut the front dry or check it once dry.
Fine hair
A hard line can look sparse; a softer, slightly textured front usually reads better.

How it grows out

  1. Week 1

    The front line is at its sharpest; the side taper is fresh.

  2. Weeks 2–3

    The front starts to sit lower on the forehead and the line softens.

  3. Weeks 3–4

    A quick clean-up of the front line between full cuts keeps the shape.

  4. Week 5 and on

    The front covers the brows and the Edgar shape turns into a longer crop.

Based on average growth of about 1 to 1.25 cm a month. Yours may be faster or slower.

Three-question conversation check

Will this work for me?

Compare your routine with the catalogue tags, then carry the useful context into your private barber brief. This is a starting point—not a suitability score or result prediction.

0 of 3 answered

What is your hair texture?
Which face shape is your closest starting point?
How often are you comfortable refreshing the cut?

Answer all three questions to see the catalogue signals and the exact adaptations worth discussing.

Plain-language starting points

What you could discuss

These are editable prompts, not exact instructions or a substitute for an in-person consultation.

  1. 1

    Use Edgar Haircut as the starting reference.

  2. 2

    Keep the sides clean with a taper or fade that supports the crop shape.

  3. 3

    Cut the front into a clear Edgar edge without making it too short.

  4. 4

    Please adjust the finish after checking my current length, density, and growth pattern.

Add current length, routine, and keep/avoid outcomes in the full builder.

Build editable brief

What the catalogue description is trying to show

  • The front line needs density; thinner hair usually needs a softer textured version.
  • The final shape should be checked from the side, front, and back before the neckline is finished.

Upkeep and styling considerations

  • Trim the front edge before it curls unevenly or loses the crop shape.
  • Refresh the fade every 2 to 3 weeks before the shortest area grows blurry.
  • Start styling with matte clay, then add more product only where the top needs control.

Compare another direction

Related catalogue references

These links are based on shared catalogue tags and hand-authored variation links, not observed user preference.

All references