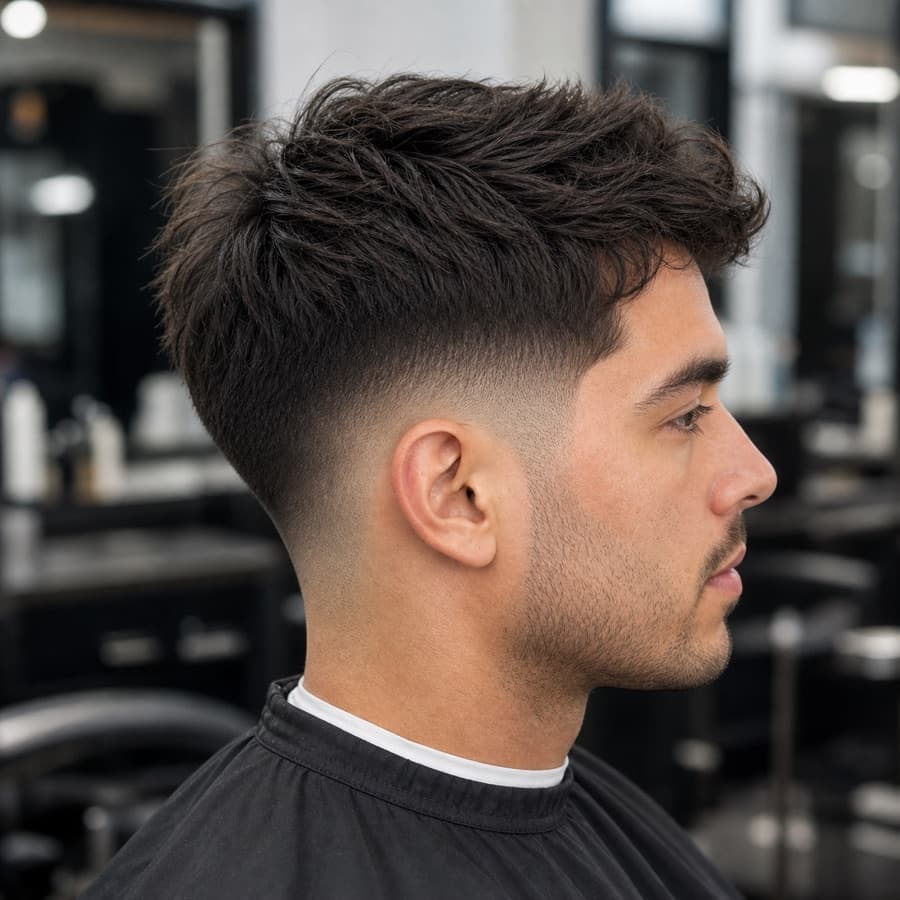
Generated illustrationMid taper
Regular upkeepstraight + wavy
Mid Taper Fade
A balanced taper that starts higher than a low taper, giving more contrast while staying wearable.
Illustrative only. Not a prediction or barber-reviewed reference.
A textured fringe paired with a mid taper for more side contrast than the standard low taper version.
Texture labels organize the catalogue; they are not a suitability prediction.
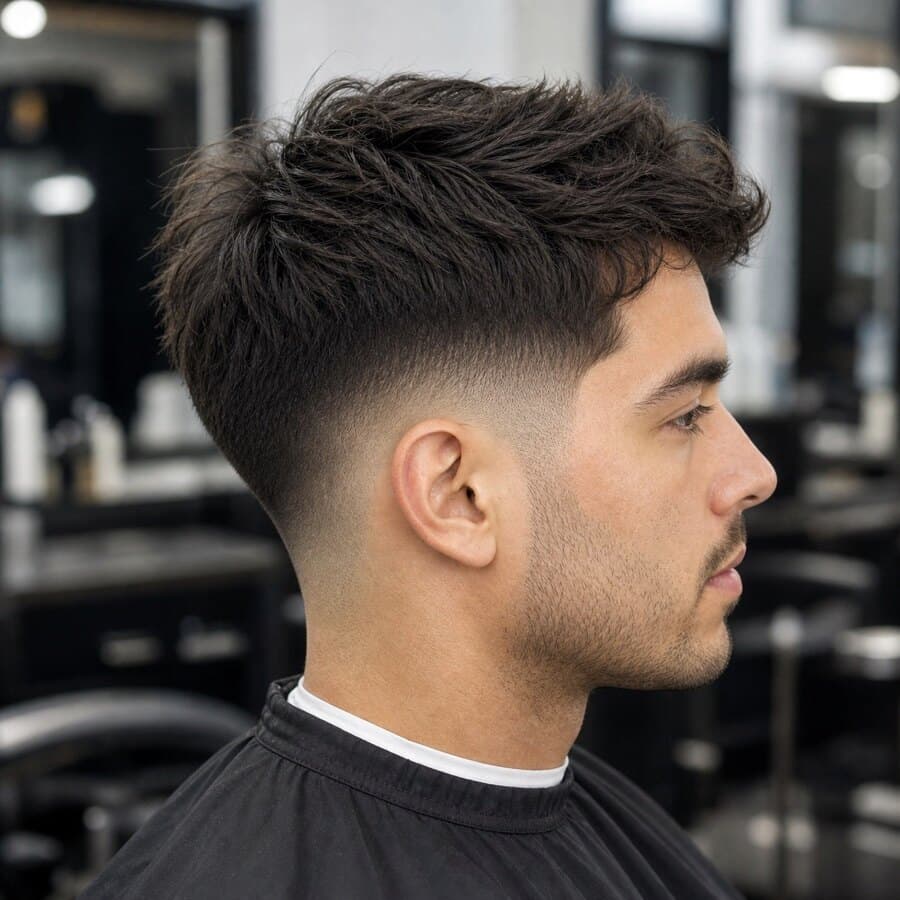 Generated illustration
Cut notes
Side
Back
Versus its nearest sibling
The same messy, forward fringe over a higher taper.
Week 1
Sharp sides, fringe sitting where it was cut.
Weeks 2–3
The taper softens and the sides start to look bulky next to the fringe.
Weeks 3–4
Refresh the taper; the fringe may only need a light trim.
Week 5 and on
The fringe drops into the eyes and the shape turns into a longer crop.
Based on average growth of about 1 to 1.25 cm a month. Yours may be faster or slower.
Three-question conversation check
Compare your routine with the catalogue tags, then carry the useful context into your private barber brief. This is a starting point—not a suitability score or result prediction.
0 of 3 answered
Answer all three questions to see the catalogue signals and the exact adaptations worth discussing.
Plain-language starting points
These are editable prompts, not exact instructions or a substitute for an in-person consultation.
Use Mid Taper Textured Fringe as the starting reference.
Use a mid taper that gives contrast but does not climb into the fringe weight.
Keep the fringe textured and forward with enough density to style.
Please adjust the finish after checking my current length, density, and growth pattern.
Add current length, routine, and keep/avoid outcomes in the full builder.
Build editable briefCompare another direction
These links are based on shared catalogue tags and hand-authored variation links, not observed user preference.
A balanced taper that starts higher than a low taper, giving more contrast while staying wearable.
Illustrative only. Not a prediction or barber-reviewed reference.
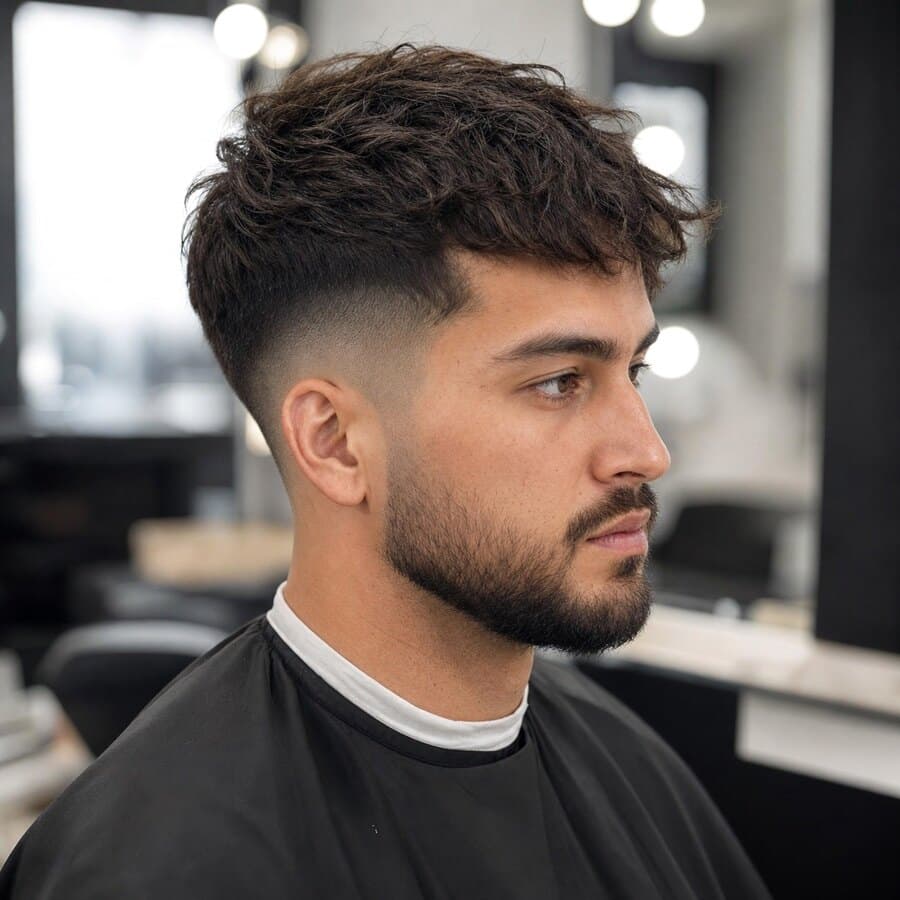
A forward fringe cut with broken texture through the front, often paired with a taper or fade to keep the sides clean.
Illustrative only. Not a prediction or barber-reviewed reference.
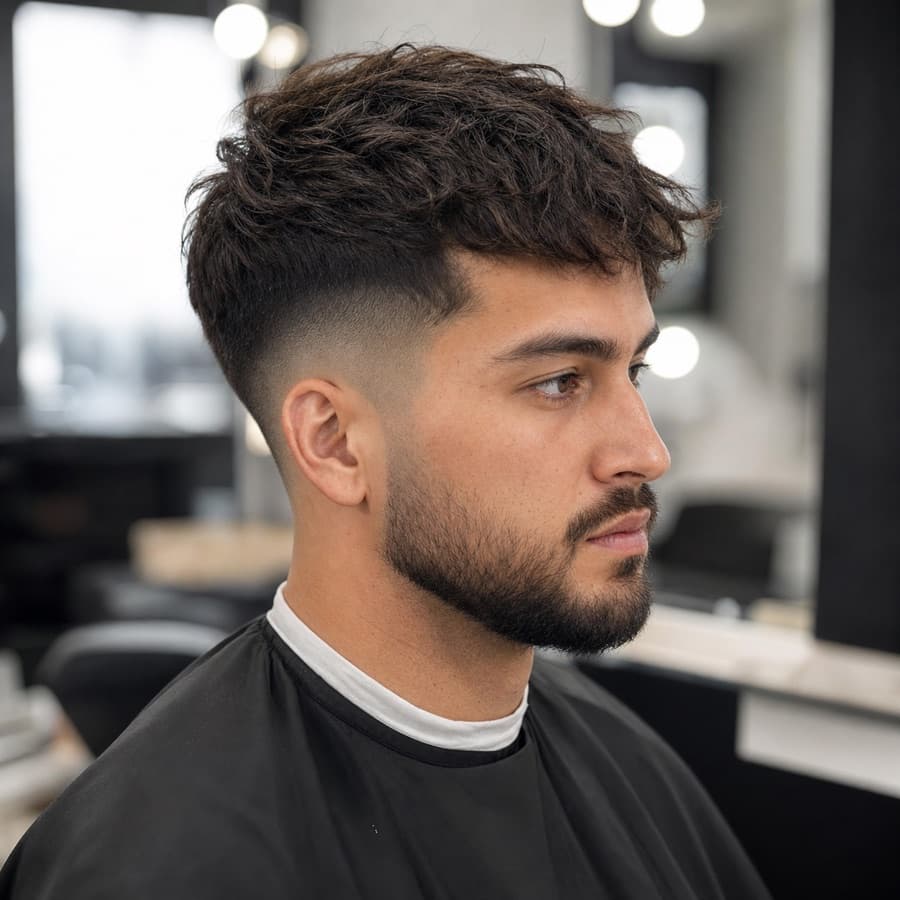
A low taper that keeps the sides controlled and pushes the visual weight into a messy, forward fringe.
Illustrative only. Not a prediction or barber-reviewed reference.
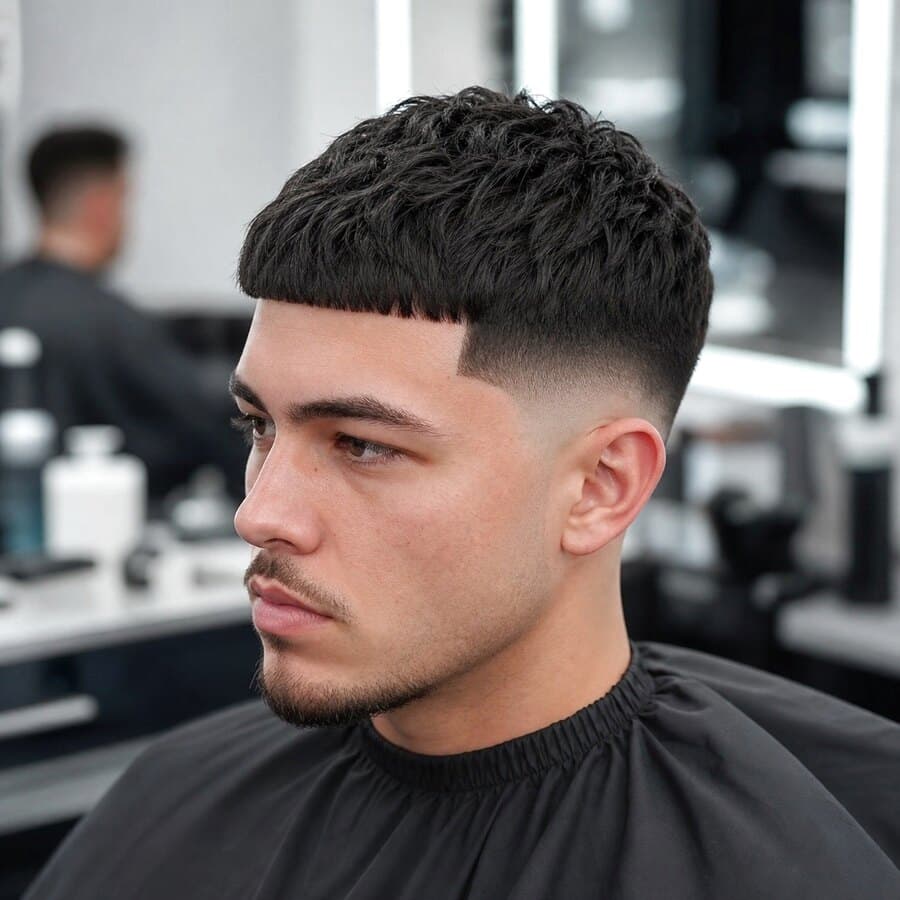
An Edgar crop with a mid taper for extra contrast through the sides while keeping the front edge strong.
Illustrative only. Not a prediction or barber-reviewed reference.